Instructions for Making Disney Chocolate Chip Cookies
- Preheat the Oven: Preheat your oven to 350°F (175°C) to ensure it’s at the right temperature when you’re ready to bake your cookies.
- Cream the Butter and Sugars: In a large mixing bowl, beat together the unsalted butter, granulated sugar, and brown sugar until it’s light and fluffy. This step helps to create a soft, chewy texture for your Disney chocolate chip cookies.
- Add the Eggs and Vanilla: Add in the eggs one at a time, making sure each is fully incorporated before adding the next. Then, mix in the vanilla extract for that signature flavor.
- Mix the Dry Ingredients: In a separate bowl, whisk together the plain flour, baking soda, and salt. This ensures that your dry ingredients are evenly distributed.
- Combine Wet and Dry Ingredients: Gradually add the dry ingredients into the wet ingredients, mixing just until combined. Be careful not to overmix, as this can lead to dense cookies.
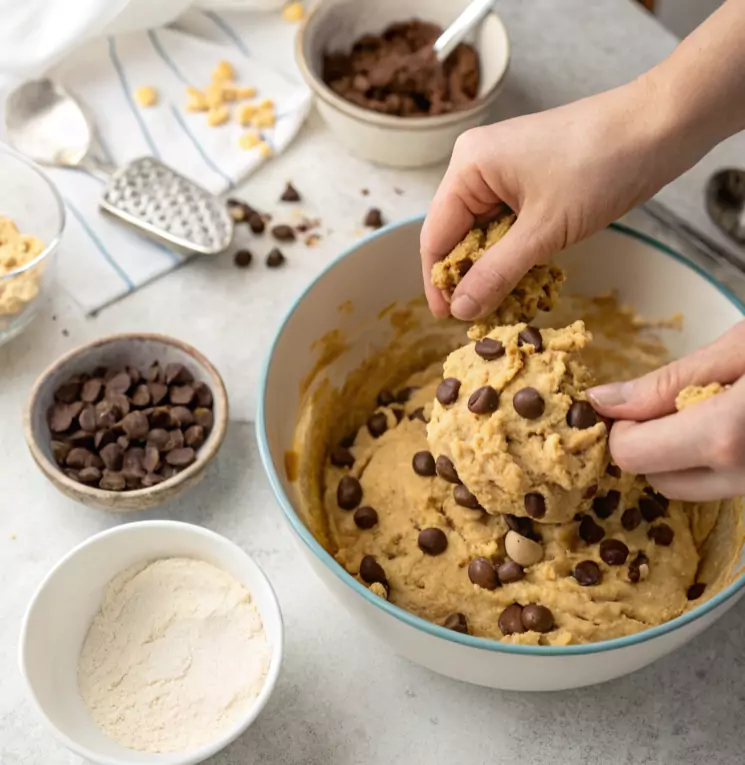
- Fold in the Chocolate Chips: Gently fold the chocolate chips into the dough using a spatula, making sure they are evenly distributed throughout the cookie dough.
- Scoop the Dough: Use a cookie scoop or tablespoon to portion out the dough onto a baking sheet lined with parchment paper. Leave some space between each cookie, as they will spread while baking.
- Bake: Place the baking sheet in the preheated oven and bake the cookies for 10-12 minutes, or until the edges are golden and the centers are slightly soft. If you like a slightly crispier cookie, bake a minute or two longer.
- Cool: Allow the cookies to cool on the baking sheet for a few minutes before transferring them to a wire rack to cool completely.
Tips for Perfect Disney Chocolate Chip Cookies:
- Chill the Dough: If you have time, chilling the dough for 30 minutes to an hour before baking can help the cookies maintain their shape and enhance the flavor.
- Use Good Quality Chocolate Chips: Since chocolate is the star of these cookies, opt for high-quality semi-sweet chocolate chips for the best taste.
- Don’t Overbake: For chewy cookies, be sure not to overbake them. They’ll continue to cook on the baking sheet after you remove them from the oven.
Enjoy your homemade Disney chocolate chip cookies, and feel free to share them with family and friends—they’re sure to be a hit just like the ones at the parks!
Optional Ingredients for Extra Flavor
While the basic recipe is fantastic on its own, here are a few ingredients that can elevate your Disney chocolate chip cookies:
- Chopped Nuts (optional) – 100g: Walnuts or pecans add a crunchy texture and a bit of nuttiness to your cookies.
- Sea Salt Flakes (optional): A pinch for sprinkling on top of your Disney chocolate chip cookies for a sophisticated, salty contrast to the sweetness.
These optional ingredients are not necessary but can add an extra layer of flavor and texture to your Disney chocolate chip cookies.
Step-by-Step Guide to Baking Perfect Disney Chocolate Chip Cookies
Now that you have all your ingredients ready, let’s get baking! Here’s a step-by-step guide to making delicious Disney chocolate chip cookies:
1. Cream the Butter and Sugars
Start by creaming the softened butter, granulated sugar, and brown sugar in a large mixing bowl. Use an electric mixer or whisk to beat the mixture for about 3-4 minutes until it’s light and fluffy.
2. Add the Eggs and Vanilla Extract
Add the eggs one at a time, mixing well after each addition. Then, add the vanilla extract and mix until combined, creating the perfect base for your Disney chocolate chip cookies.
3. Mix the Dry Ingredients
In a separate bowl, whisk together the plain flour, baking soda, and salt. Gradually add the dry ingredients into the wet ingredients, mixing just until incorporated. Be careful not to overmix the dough for your Disney chocolate chip cookies.
4. Fold in the Chocolate Chips (and Nuts)

Gently fold the chocolate chips (and nuts, if using) into the cookie dough. Make sure they’re evenly distributed throughout the dough for your Disney chocolate chip cookies.
5. Chill the Dough
For best results, cover the dough with plastic wrap and chill it in the refrigerator for at least 30 minutes. Chilling the dough helps the cookies keep their shape and ensures a chewy texture in your Disney chocolate chip cookies.
6. Shape and Bake the Cookies
Preheat your oven to 180°C (160°C fan)/350°F. Line a baking sheet with parchment paper. Once chilled, scoop tablespoon-sized portions of dough and roll them into balls. Place the dough balls on the prepared baking sheet, leaving enough space between them (about 5 cm) for spreading.
Bake the cookies for 10-12 minutes, or until the edges are golden brown but the centers are still soft. Remove from the oven and let the cookies cool on the baking sheet for a few minutes before transferring them to a wire rack to cool completely.
7. Serve and Enjoy Your Disney Chocolate Chip Cookies!
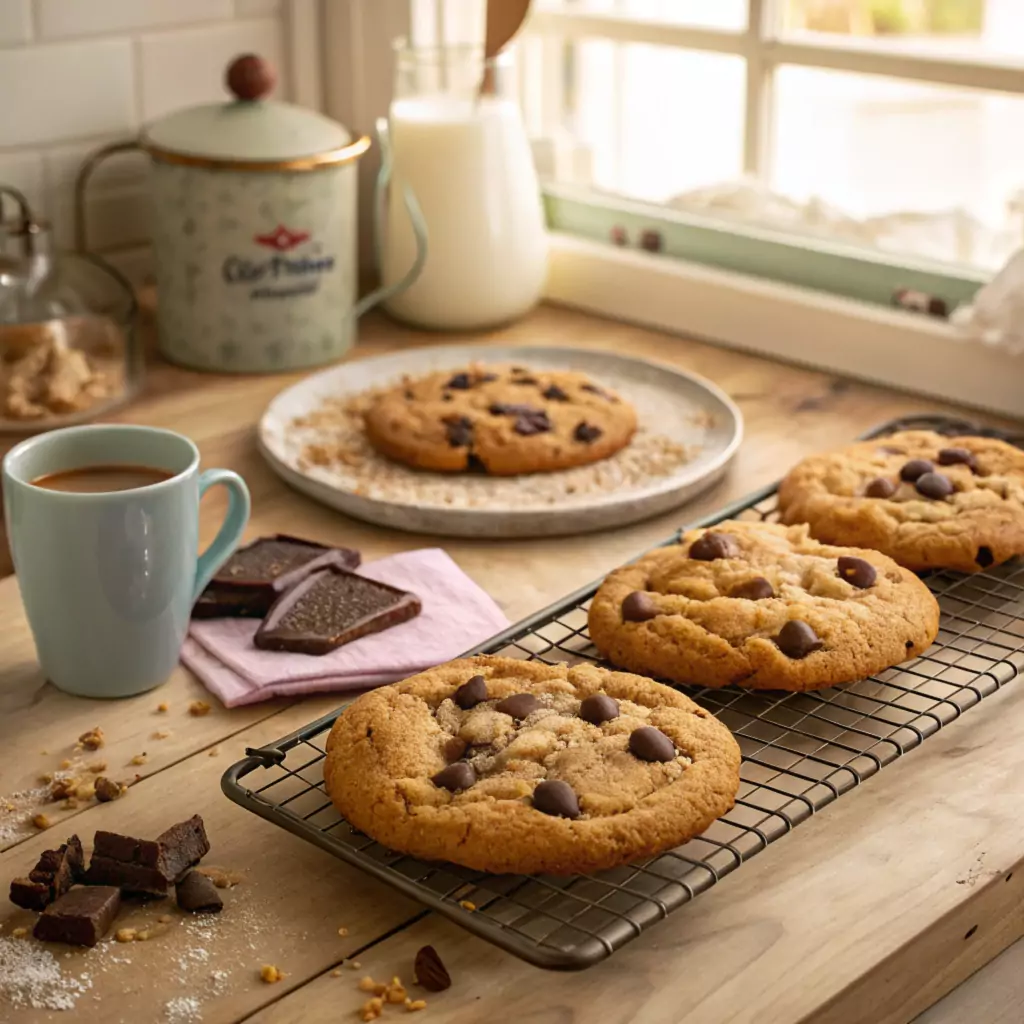
Once cooled, serve these warm and gooey Disney chocolate chip cookies to your family and friends, or enjoy them with a glass of milk. They’re perfect for any occasion!
Delicious Pairings for Your Disney Chocolate Chip Cookies
While these cookies are great on their own, here are a few ideas for pairing them with other treats:
Classic Pairing
- Milk: You can’t go wrong with a glass of cold milk to go alongside these Disney chocolate chip cookies. It’s the classic combination!
Fun Variations
- Ice Cream Sandwiches: Use these Disney chocolate chip cookies to create delicious ice cream sandwiches by adding your favorite ice cream between two cookies. Perfect for a fun twist on a classic treat.
- Chocolate Chip Cookie Dough Bars: If you love the dough as much as the cookies, try making no-bake chocolate chip cookie dough bars using the cookie dough and a drizzle of chocolate on top.
Frequently Asked Questions
Now that you’ve learned how to bake these delightful Disney chocolate chip cookies, let’s address a few common questions!
1. Can I Use Margarine Instead of Butter?
While butter provides the best flavor and texture in these Disney chocolate chip cookies, margarine can be used as a substitute if necessary. However, it may slightly affect the flavor and texture of the cookies.
2. Can I Use Dark Chocolate Chips?
Yes! If you prefer a richer, less sweet flavor, you can use dark chocolate chips in your Disney chocolate chip cookies. It’s a great option for those who like a deeper chocolate taste.
3. Can I Freeze the Cookie Dough?
Absolutely! If you want to prepare the dough ahead of time, you can freeze it. Roll the dough into balls and freeze them on a baking sheet. Once frozen, transfer the dough balls to a freezer bag or container. Bake them directly from the freezer, adding a couple of extra minutes to the baking time.
4. How to Store Leftover Chocolate Chip Cookies
To keep your cookies fresh, store them in an airtight container at room temperature for up to 5-7 days. If you’d like to keep them extra soft, place a slice of bread in the container. The bread helps retain moisture, keeping the cookies chewy for longer.
Wrapping It Up – Enjoy Your Homemade Chocolate Chip Cookies!
And there you have it – the perfect chocolate chip cookies made right in your own kitchen! Whether you’re baking them for a special occasion, a cozy movie night, or just because, these treats are sure to add a bit of magic to your day. Enjoy the delightful combination of chewy centers and golden, crispy edges—just like those enjoyed at the Disney parks. Happy baking!
🍪 Sweet Bliss: Perfect Chocolate Chip Cookies! 🍪🤤
Ever dreamed of recreating the magic of Disney at home? These chocolate chip cookies are thick, gooey, and bursting with chocolatey goodness. Perfectly baked to bring the magic of Main Street USA right to your kitchen!
🍪 Sweet Bliss: Perfect Disney Chocolate Chip Cookies! 🍪🤤
Ever dreamed of recreating the magic of Disney at home? These Disney chocolate chip cookies are thick, gooey, and bursting with chocolatey goodness. Perfectly baked to bring the magic of Main Street USA right to your kitchen! ✨🏰
Ingredients:
- 2 sticks (1 cup) unsalted butter, softened
- 1 cup granulated sugar
- 1 cup packed light brown sugar
- 2 large eggs
- 2 teaspoons pure vanilla extract
- 2 ¾ cups all-purpose flour
- 1 teaspoon baking powder
- 1 teaspoon baking soda
- ¾ teaspoon salt
- 2 cups semi-sweet chocolate chips
- 1 cup milk chocolate chunks
Instructions:
- Cream the Butter and Sugars: In a large bowl, beat softened butter, granulated sugar, and brown sugar until light and fluffy.
- Add Wet Ingredients: Mix in the eggs, one at a time, followed by the vanilla extract.
- Combine Dry Ingredients: In a separate bowl, whisk together the flour, baking powder, baking soda, and salt. Gradually add to the wet mixture, mixing until just combined.
- Fold in Chocolate: Gently fold in the chocolate chips and chunks.
- Chill the Dough: Cover and refrigerate the dough for at least 30 minutes to ensure thick cookies.
- Bake to Perfection: Preheat the oven to 375°F (190°C). Scoop out cookie dough (about ¼ cup per cookie) and place on a lined baking sheet, leaving enough space between each. Bake for 12-14 minutes or until golden brown around the edges.
- Cool and Enjoy: Allow cookies to cool on the sheet for 5 minutes before transferring to a wire rack.
Prep Time: 20 minutes
Cook Time: 12-14 minutes per batch
Total Time: ~1 hour (including chilling)
Servings: ~20 large cookies
Calories per Serving: ~250
Nutrition Facts per Serving:
- Calories: ~250
- Fat: ~12g
- Carbohydrates: ~34g
- Protein: ~3g
🌟 Tips:
- For an even gooier center, bake for slightly less time.
- Add a pinch of sea salt on top before baking for a salty-sweet combo.
- Want to go all out? Substitute some chocolate chips with chunks of your favorite candy bars!
Feel the magic with every bite! ✨ Let me know if you try this recipe; I’d love to hear how it turns out! 😊

